
Assembly and Disassembly Tips
Why is it important to disassemble furniture before moving?
Why is it important to disassemble furniture before moving?

Enter at least 3 characters.
Packing a bunk bed can seem challenging, especially for those organizing a move for the first time or wanting to protect the furniture from damage. This guide offers practical tips and steps on how to efficiently and safely pack a bunk bed, whether it's for a child's room or a guest bed. With clear recommendations on materials, disassembly, and labeling, any beginner can prepare this specific piece of furniture for transport or storage without stress. Besides the basic steps, it's important to understand how to properly organize the packing process to save time and avoid potential issues during reassembly. We also advise paying attention to safety during packing by using protective gear such as gloves and safety glasses, especially when disassembling metal parts or working with tools.
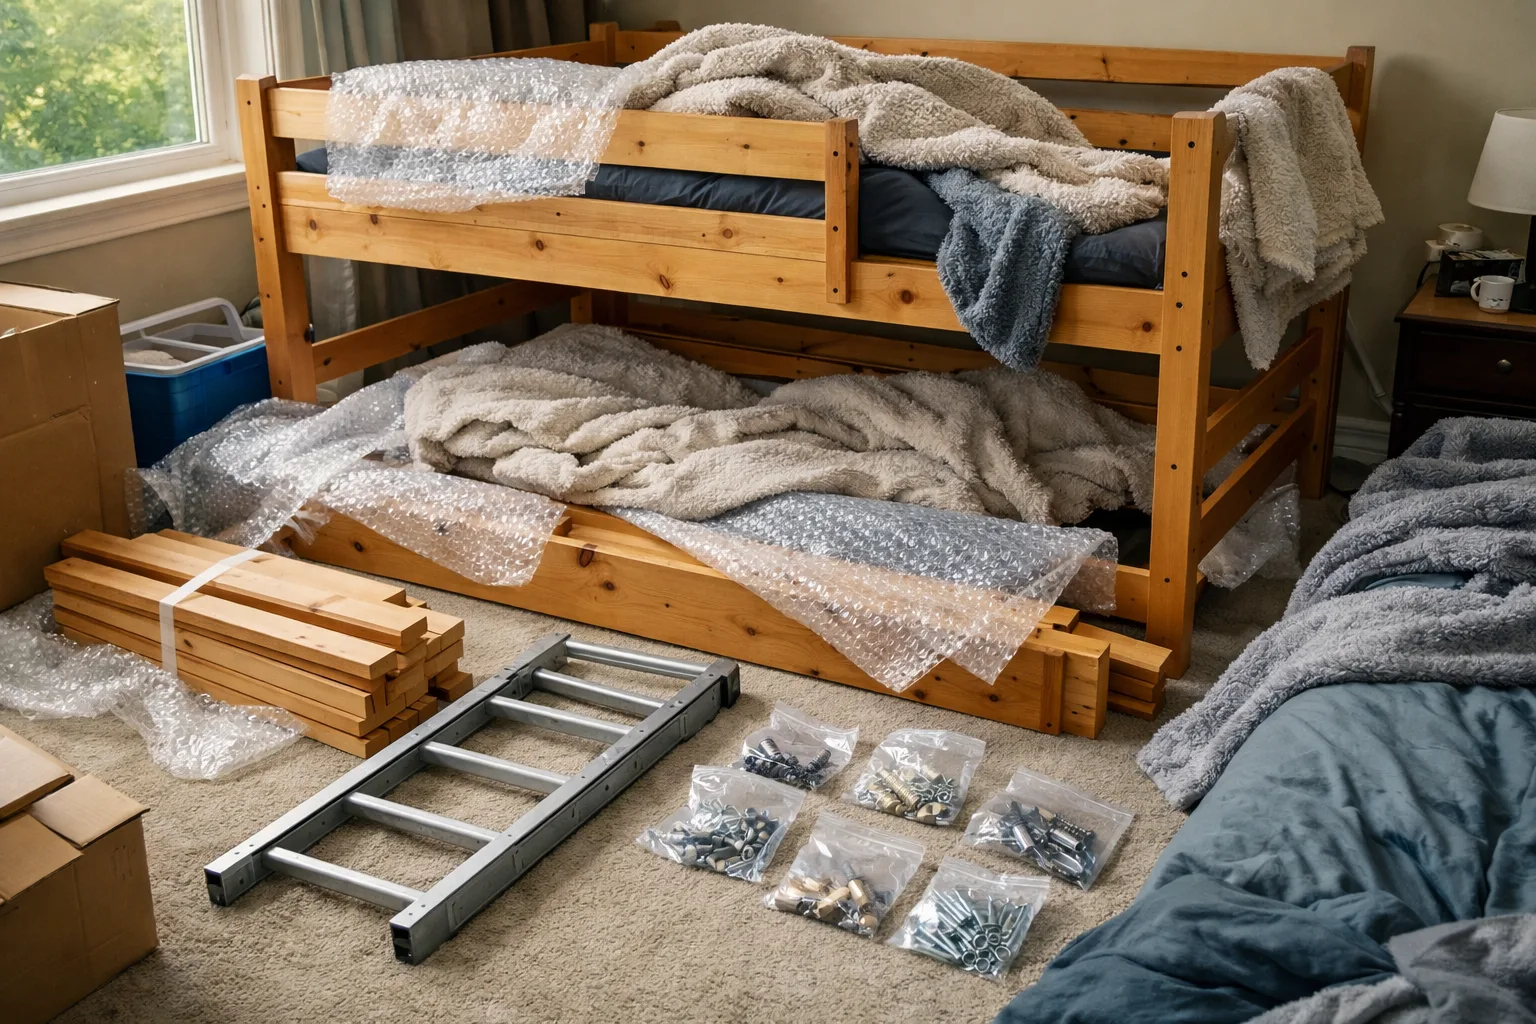
Before you start disassembling the bunk bed, it’s important to prepare your workspace. Choose a room with enough space to lay out and pack the bed parts. Ideally, the area should be clean and well-lit to avoid losing small parts like screws and nuts. Also, consider the surface you’ll be working on – placing old blankets or cardboard can help protect the floors and the bed parts themselves.
Remove all bedding, toys, or accessories from the bed before beginning disassembly. Also, clear the area around the bed to facilitate access to all parts and reduce the risk of damaging walls or nearby furniture. It’s helpful to have a trash bin nearby to immediately dispose of any small debris or packaging during the process.
It’s advisable to prepare the necessary tools such as a screwdriver, pliers, and boxes for packing. Having small bags ready for tiny parts or protective wrap can significantly speed up the process and keep it organized. Also, check that all tools are in good working order and easily accessible; if you’re unsure how to use any tool, consult a professional or review instructions to avoid injuries or furniture damage.
Start by removing the mattress and safety rails, if any. Then take off the top bunk, making sure to support it properly as it’s usually the heavier part. If possible, ask someone to help lift and move it to avoid injuries and damage.
The next step is to dismantle the stairs or ladder leading to the top bunk. Pay attention to screws and joints; it’s best to place them immediately into labeled bags. While disassembling, check for any worn or damaged parts so you can replace them before reusing.
After removing the top bunk, disassemble the bottom part of the bed. It’s important to arrange all parts by size and function to make reassembly easier at the new location. It’s recommended to take photos of each disassembly step, which will greatly simplify assembly and prevent mistakes.
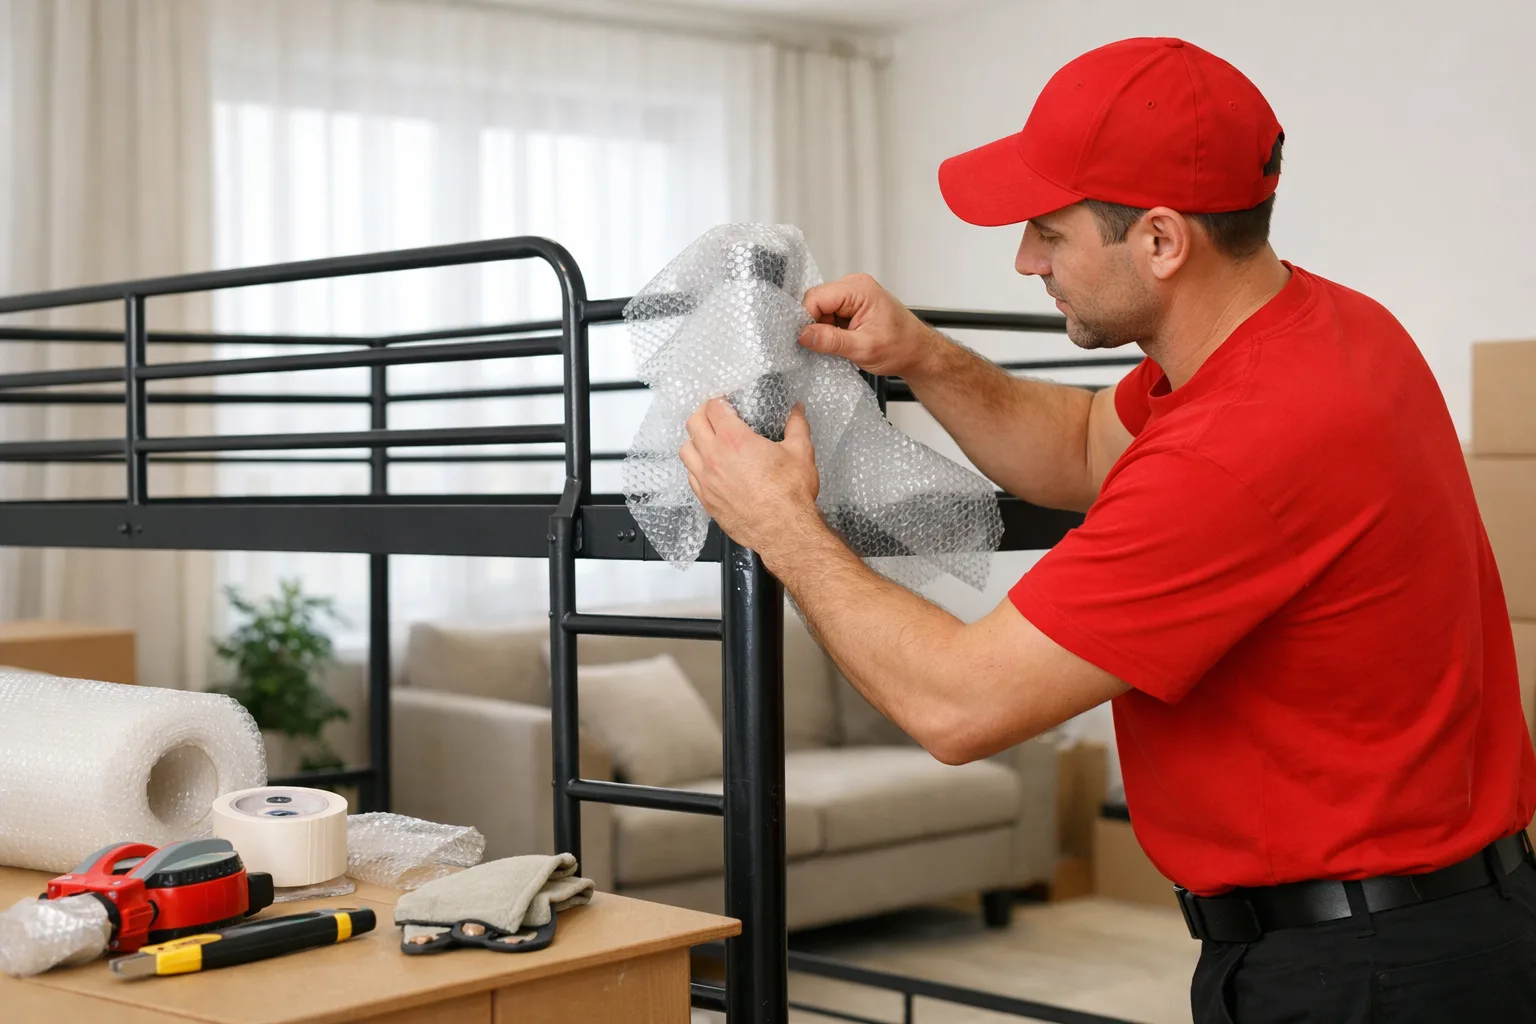
Protect wooden or metal bed parts with soft materials such as bubble wrap or old blankets to prevent scratches and dents during transport. It is recommended that each part be individually wrapped, especially those with visible surfaces that can be easily damaged.
Pay special attention to corners and edges, which are most susceptible to damage. Wrap them with an additional layer of protection to avoid breaking or tearing. For corners, you can also use special plastic protectors that are easy to apply and remove.
For smaller and delicate parts, such as screws and connectors, use plastic bags that you clearly label. It is also recommended to attach them to larger pieces or place them in a separate box that you will not open until the bed is at the new location. This organization reduces the risk of loss and makes it easier to find the necessary parts during assembly.
Quality material for packing significantly affects safety during the move. Bubble wrap is an excellent choice for protecting wooden and metal parts from scratches and impacts. Choose wrap of appropriate thickness, as thinner wrap may be insufficient for heavier parts.
For parts that can be easily scratched, soft cushions or blankets are recommended. They can also be used to separate parts in boxes to prevent them from shifting and getting damaged. Additionally, old cushions or blankets can be a more economical alternative if you don't have specialized materials on hand.
Sturdy cardboard or plastic boxes with lids are ideal for smaller parts and tools. Boxes should be labeled and easily accessible to facilitate the assembly process after the move. It is recommended that boxes come in various sizes and be stacked so that heavier items are not placed on lighter ones, thus avoiding damage to the contents.
Effective labeling of parts is crucial for quick and easy assembly after the move. Use permanent markers or stickers to mark each part and its position in the bed structure. A good labeling system can include numbers, colors, or a combination of both.
It is advisable to make a short note or drawing with the labels you used. This will save time and reduce the possibility of errors for yourself or those helping with assembly. Digital photos or videos of the disassembly process can also be very helpful.
Keep all smaller parts, such as screws, nuts, and washers, in separate bags that you attach to the corresponding parts or place in clearly labeled boxes. You can also prepare spare sets of screws in case some parts are damaged or lost, which will further facilitate reassembly.
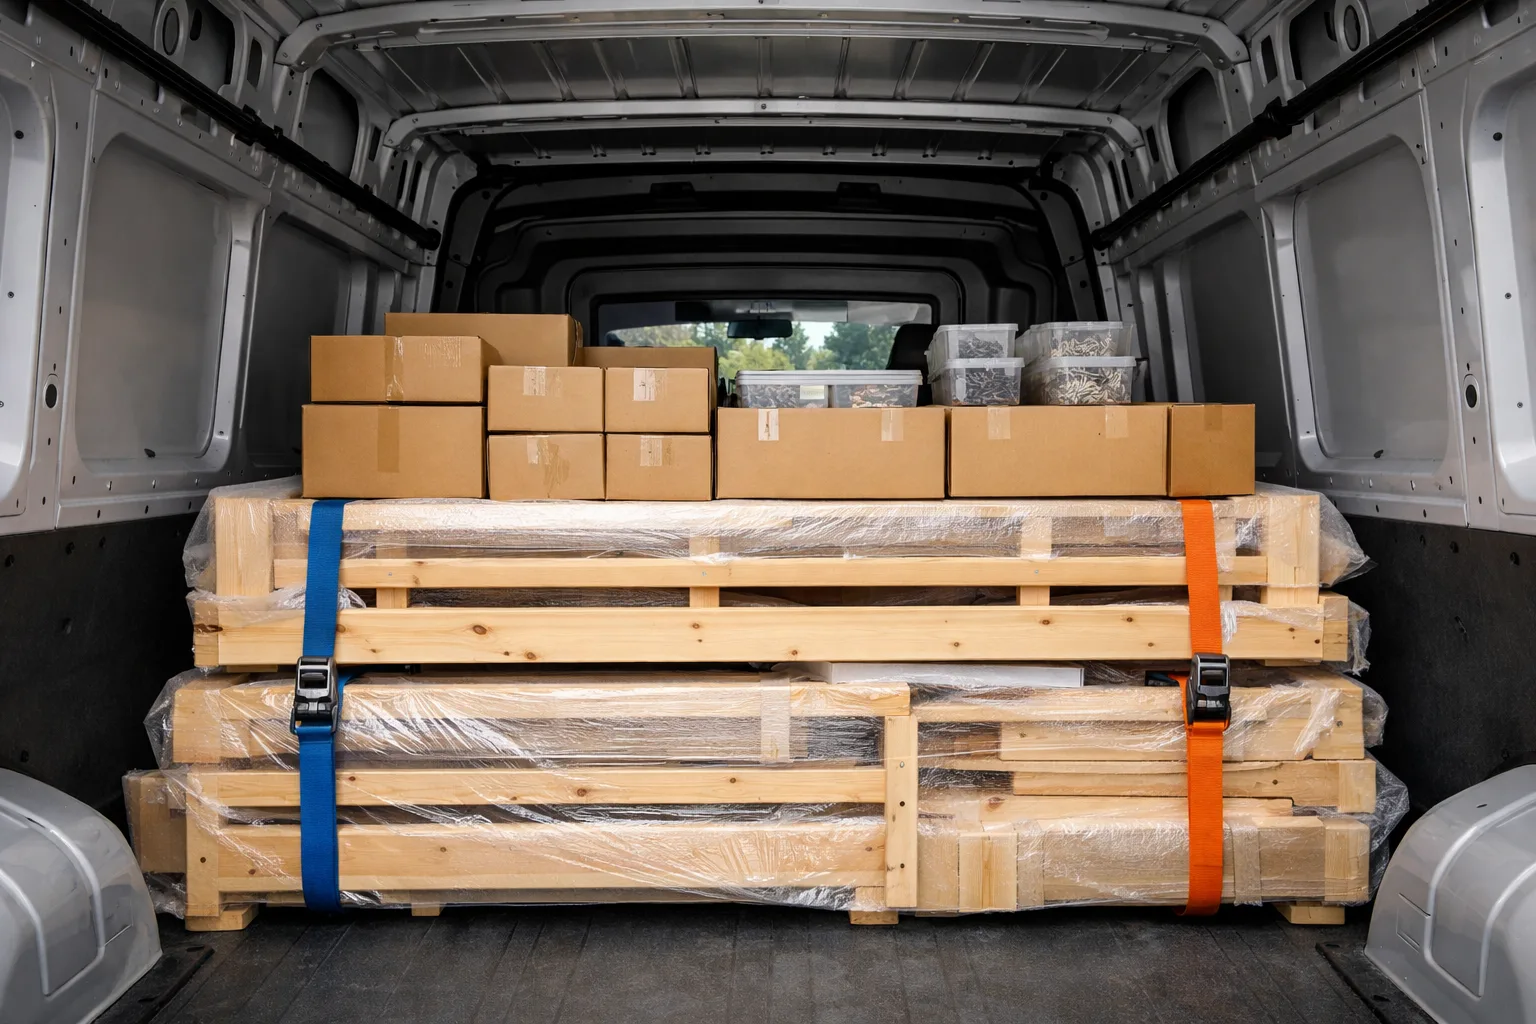
Once the bed parts are protected and labeled, the next step is to neatly pack them into the transport vehicle. Place heavier and larger parts at the bottom, while lighter and smaller parts go on top or in separate boxes. This arrangement helps stabilize the load and prevents damage during the drive.
Be sure to use straps or ties to secure the parts to prevent them from shifting during transport. Movement of parts can cause damage and prolong assembly time at the new location. Also, check that the straps are properly tightened and do not press too hard on the furniture parts.
If you are using a van or truck, consider additional protection such as blankets or cushions between parts and the vehicle walls. This can reduce the risk of damage and preserve the quality of the furniture. Also, plan the loading layout so that the most important parts are easily accessible during unloading.
If you do not plan to assemble the bed immediately, it is ideal to store the parts in a dry and secure place, protected from moisture and direct sunlight. Moisture can cause warping and damage to wooden parts, so it is good to use moisture absorbers in the room.
The way parts are stacked in storage should be such that heavier parts are at the bottom and delicate parts on top, with additional protection from dust and mechanical damage. It is recommended to use pallets or platforms to separate parts from the floor and provide extra protection.
Regularly check the condition of the packaging and protection, especially if storage lasts longer than a few weeks. If you notice any damage to the protective materials, replace or supplement them immediately. Also, periodically verify that all parts are still properly labeled and organized to avoid confusion during reassembly.
One frequent mistake is disorganized storage of screws and small parts, which often leads to losses and problems during reassembly. Therefore, it is important to use bags and boxes with clear labels, as well as to attach them to larger parts or keep them in one place for easy retrieval.
Inadequate protection of parts can cause scratches, dents, or even cracks in wooden and metal elements. Always use quality protective materials and do not skimp on layers of protection. Also, avoid placing heavy objects on bed parts during storage or transport.
Skipping documentation of the disassembly and packing process can complicate reassembling the bed. It is recommended to photograph or note key steps to facilitate assembly at the new location. This simple step can save hours of time and reduce stress during reassembly.
Why is it important to disassemble furniture before moving?

How to assemble furniture after moving?

7 reasons not to assemble furniture yourself

How to assemble furniture after moving abroad?
We will respond to you as soon as possible.
Below are answers to the most common questions regarding packing a bunk bed, focusing on practical challenges and specifics of this process.
The ladder should be carefully disassembled, if possible, and wrapped in bubble wrap or soft material to protect the surface. Place smaller parts and screws in labeled bags. If the ladder cannot be disassembled, secure it with straps to keep it stable and wrap it in protective film.
If you lack necessary tools like screwdrivers or wrenches, it is best to borrow or purchase a basic tool set. Alternatively, you can hire a professional moving service that will handle disassembly and packing.
Use small plastic bags or containers to store all screws, nuts, and washers. Clearly label each bag according to the bed part they belong to and, if possible, attach them to the corresponding part or place them in a separate box.
For safer transport and easier packing, complete disassembly of the bunk bed is recommended. However, if the bed is well-made and there is enough space for transport, it is possible to disassemble only the top bunk and ladder, leaving the bottom part assembled.
Be sure to wrap the bed corners with bubble wrap or special protective cushions. This is especially important for wooden corners that are easily damaged. Additionally, use straps or adhesive tape to secure the protection in place.
Packing time depends on the size of the bed and your experience, but for beginners, the process can take from one to two hours, including disassembly, protection, and packing of all parts.
Arrange the parts in the order of assembly and use the labels you previously made. Write down or photograph the disassembly process as a reminder. Keep screws and connectors in clearly marked bags that are easily accessible.